
Discord originally was a chat app for gamers, but now it has changed drastically. It is now a real-life virtual room for millions of people across the globe. This is where study groups meet, remote teams collaborate, and friends catch movies on a Friday night together. The platform is very powerful; however, its interface can sometimes be messy, which is why new users tend to be confused when all they want to do is to show their monitor to someone.
If you want to keep up with the ever-changing digital landscape, mastering Discord screenshare is a must. You can easily share your screen wherever you are: for example, when fixing a code bug with a developer, streaming a gaming session to friends, or hosting a watch party. Knowing how to broadcast your screen quickly and easily will make the whole experience more pleasant for you and others.
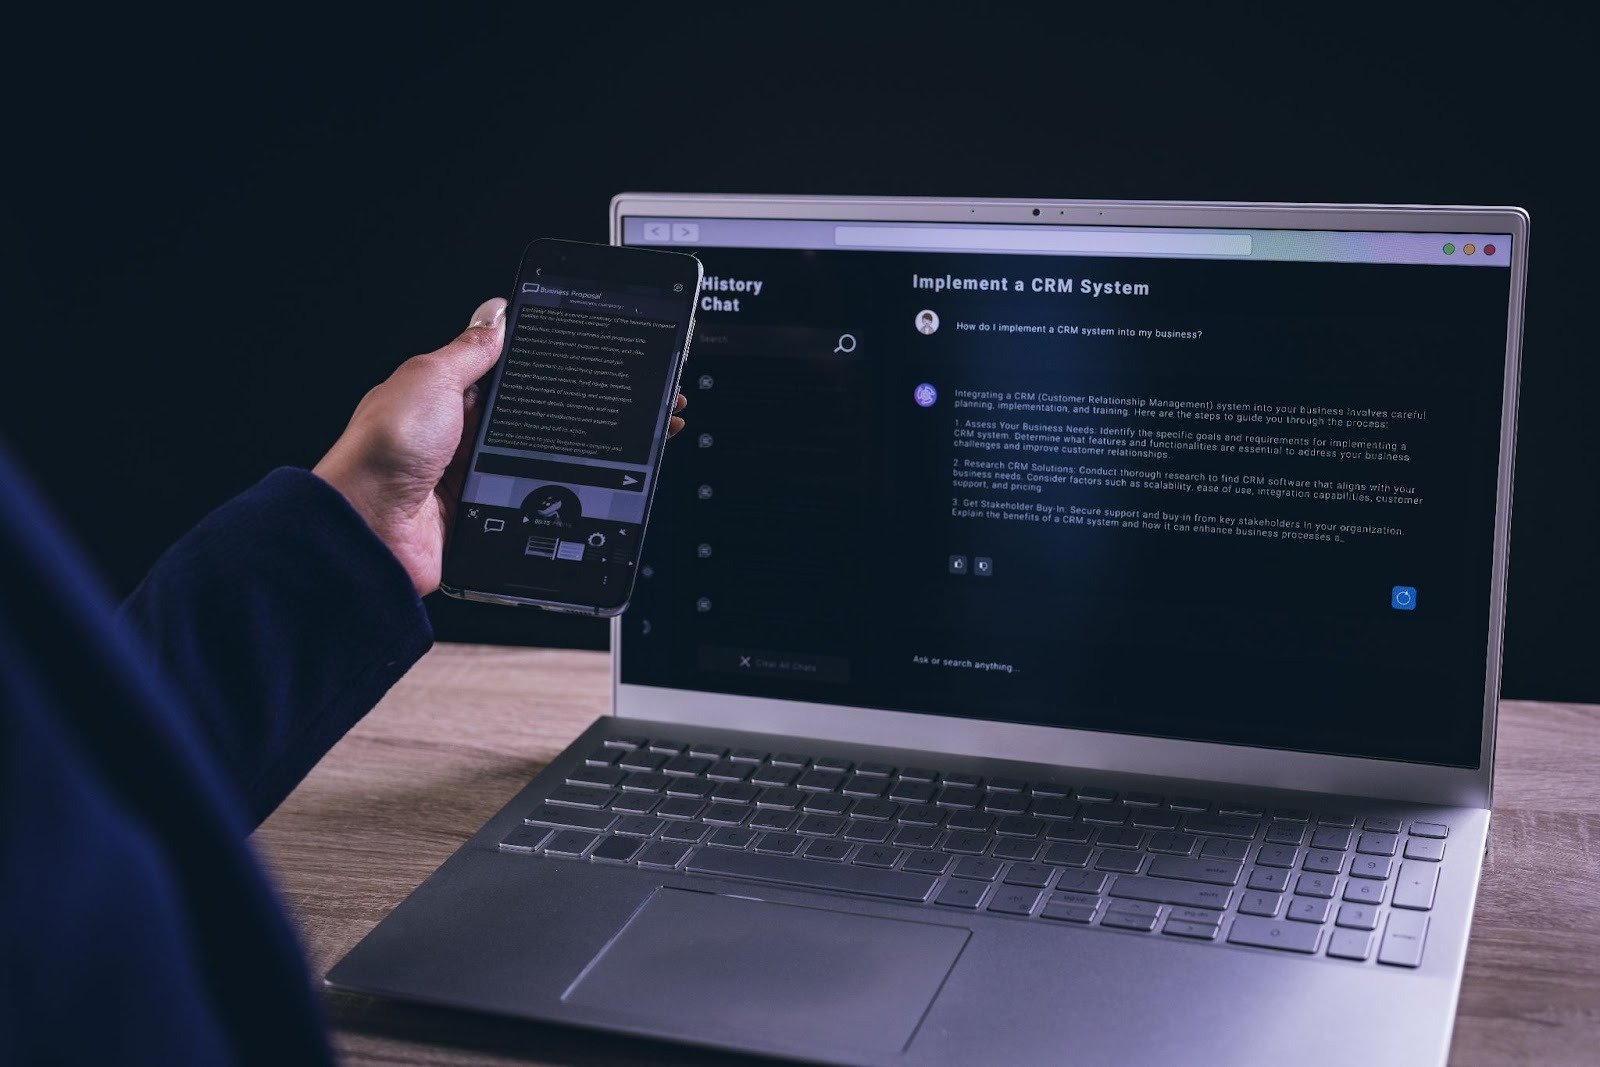
We have created a very detailed Discord tutorial, so you can use this guide as a great resource. We reveal screen sharing with Discord on both desktop and mobile devices step-by-step, as well as how to get rid of black screen issues and make your stream look as good as possible.
What Can You Do With Discord Screenshare?
By the time you see how to do it, it’s great to know what exactly Discord screenshare is all about. To put it simply, it is a live streaming feature that allows you to share your screen with a friend in a private call (DM) or public voice channel on a server.
In comparison with the professional broadcasting programs that require complex setups, like OBS, Discord’s streaming features are built into the app, thus making them very easy for everyone to use.
Typical Examples
This feature is not only applied to show the game being played to the audience.
- Collaboration: Artists who are on digital platforms might find it handy streaming their art process to receive feedback instantly, and similarly developers do pair programming to find bugs faster.
- Onscreen entertainment: Friends organize movie marathons over Discord and they can also add reactions by streaming videos from YouTube, movies, and TV shows.
- Business and academics: Toms working remotely use such tools for presentations, whereas students rely on it for sharing notes and cooperation on projects.
Basics: Application Sharing vs. Screen Sharing
You usually have two options when you start a Discord screenshare session:
- Applications: That is a sharing of a single specific window (e.g., Chrome, Photoshop, or the game). And even when you go to another app or minimize the window, fans won’t get to see your wallpaper or private stuff. It is a safer option and maintains more privacy.
- Screens: Sharing the entire monitor where your viewers get to see everything that you do. Great option when one needs to quickly switch between different applications. However, you have to be careful about the notifications and confidential info.
How to Share Screen on Discord: A Desktop Version Guide
Sharing a screen on desktop – PC or Mac – is very simple if you are aware of where the share screen button is. In order to start sharing your screen, carry out the following steps.
Step 1: Pick Up a Voice Channel
For one thing, you won’t be able to share your screen unless you are actually connected to a voice. Find the server where you want to reach the channel and click on the voice channel (the speaker icon indicates it). Or, a DM with friends can also be initiated after clicking the call button on a friend list.
Step 2: Find the Icon
With the connection established, look at the lower-left area of the Discord screen, right above your username and microphone toggles. A button that depicts two monitors with a circular arrow inside it will greet your eyes.
You will also be able to see the button if you are in a video call in which you have access to other people’s cameras. In that case, it is placed at the bottom center of the screen just beside the rest of the buttons.
Step 3: Choose Your Source
The button that you have just clicked shows you the menu with two tabs: Applications and Screens.
- Applications: Each running application will be listed here. Select the app that you want to share, i.e., “Minecraft” or “Microsoft Word.”
- Screens: This facilitates the choice of which physical monitor you want to share in case you have multi-monitors.
Pro Tip: Most of the time, the best option is “Applications.” When you operate under that tab, one thing that you get rid of is embarrassing popups of notifications (personal emails or text messages) in front of the streaming audience.
Step 4: Adjust the Quality of your Stream
Once you have made your choice, a little wizard window will come up and it will allow you to quickly and easily change some of the stream details.
- Resolution: Ordinarily, users can stream up to 720p resolution.
- Frame Rate: Most of the time, the default frame rate is 30fps (frames per second) which is perfect for presentations but for video games the players may complain about choppiness.
In the event that you wish to stream at 1080p and 60fps, you will need to subscribe to Discord Nitro. Nevertheless, the regular settings are more than enough for most users that occasionally use the platform.
Step 5: Announce Your Live Status
Comfortable with the settings you have selected? Press the blue button that says “Go Live.” In a matter of seconds, a confirmation sound will be played and thereby a little preview window will pop up to show you what your viewers could and would see. Congrats on your first Discord screenshare!
Moving to Mobile: Sharing a Screen on Your Phone
With the ongoing popularity of mobile gaming and overall on-the-go communication, it is no surprise that more people want to know the use of Discord screenshare on smartphones.
Whether it is an iPhone or Android, the usage is pretty much the same; however, there are some personal privacy considerations that come with it.
Step by Step Instruction
- Get on a Call: With your friend or server voice channel, voice call.
- Show Call Controls: You might be able to swipe up from the bottom or just tap the screen to make the call control menu appear depending on the device you are using.
- Tap the Button Icon: Here, you have got to find the “Share Your Screen” button. Mobile devices generally symbolize it as a phone with an outward-pointing arrow.
- Confirm the Sharing Action: This is undoubtedly a crucial point since your phone will notify Android users through a system pop-up, while iOS will prompt them to “Start Broadcast”.
Warning: If compared to desktop, a phone will hardly allow you to share one single app only. It is your whole screen that you are sharing. Thus if you disconnect your message and scroll through the conversation or enter your banking app to check your balance, the viewers will know everything. Please be extremely careful with notifications or passwords when streaming from your phone.
How to Stop Sharing Your Screen?
Just tap on the “Stop Sharing” button in the Discord application and the session will be terminated. It will be pretty straightforward to stop the stream if you have minimized Discord. You can simply tap on the red recording indicator present in your phone’s status bar.
Increase the Quality of Your Stream: Extra Tweaks & Nitro
If you are serious about turning your Discord screenshare experience from a simple one to an outstanding one, you should definitely consider some of the advanced settings mentioned below.
Audio Settings
Quite often, the issue would be that someone shares a video, and the people watching it say: “Where is the sound? I can only see the video.” It’s quite annoying, isn’t it?
- Windows: Generally, when you share through the “Applications” tab, sound captures automatically.
- Mac: Because macOS has tighter security system rules, you cannot just share desktop sound straightforwardly. Usually, an audio driver will have to be downloaded that is compatible with Discord and must be installed through its “Voice & Video” settings. Granting the necessary permissions should be done by following the instructions on the screen.
Should You Get Discord Nitro?
So Discord Nitro is a paid subscription plan by Discord. It promises a few things specifically for screensharing such as that one can stream at a much higher resolution and frame rates than before.
- Source Quality: Your streams will go as far as 4k if your own monitor can support such a resolution and you have got the Nitro subscription.
- 60fps: With the frame rate being increased to 60 frames per second, the visual effects of games will look significantly more realistic.
If you often stream fast-paced gaming or organize movie nights where the visual aspect is of top priority, then the Nitro subscription is really worth getting. On the other hand, if you mainly employ Discord screenshare for the static presentation of code or slides, the free version will suffice.
Streamer Mode
If you happen to be a content creator, you will have to enable Streamer Mode in your User Settings. This smart feature recognizes when you are connected to streaming software such as OBS or using Discord for screenshare.
Very conveniently, it will automatically conceal the personal details such as yours email address, Discord discriminator, and connected accounts that you probably wouldn’t want to be leaked to the public during streaming.
Troubleshooting: When Things Look Too Dark
The technology we use is not always perfect, and glitches occur from time to time. The problem that is probably most well-known overall is the “Black Screen” bug. Simply put, your viewers can hear the sound of your game or movie but aren’t able to see anything except a blank screen.
How to Fix the Black Screen Issue
This problem is quite common due to the incompatibility between the graphics card and Discord software. The following step is the one that can be relied upon the most:
- Click on User Settings in Discord (gear icon).
- Scroll down and then under the App Settings section, tap on Advanced.
- Identify Hardware Acceleration.
- Switch the toggle to the OFF position.
- Close the app and reopen it.
RPC that typically involves hardware acceleration in most modern apps helps offload tasks. When it is turned off, Discord is forced to change the way it handles visuals, which is the reason why the black screen problem during a Discord screenshare session is resolved most of the time.
Audio Lag or Robotic Voice
Robot talking is one of the terms that most people hate to be called. If you hear what friends tell you, it might be an internet connection problem because the stream is lagging or the individual’s voice is robotic in a call.
- Clear the Way for the Internet: Close any active browser tabs and downloads.
- Scale Down the Quality: Exit the stream and restart it using 720p and 15 or 30fps. In this way, your internet won’t be strained as much.
Apple Users: Check Permissions
If you are unable to share your screen completely and you happen to be a Mac user, then this is probably a case of permissions not being granted to Discord. Head over to System Preferences, choose Security & Privacy, and then Screen Recording. Make sure that the checkbox next to Discord is indeed selected. Sometimes, for the changes to become effective, one has to relaunch the app.
Run as Administrator
There are occasions when Discord requires close to administrator level permissions in order to be able to capture the full-screen game.
Simply right-click on the Discord desktop icon and choose “Run as Administrator.” This fascinating little trick allows you to solve quite a lot of issues related to capture failures.
Streaming Etiquette: How to Communicate Clearly When You Have the Floor
Apart from the setting up of the technical side, using Discord screenshare in a proper manner would also help greatly in hosting a good session.
Use Mute Wisely
You may be doing a get-together with friends for a movie; trust us, nobody will wait just to hear the sound of your chomping the chips or clicking a keyboard.
Use the Push to Talk feature or your mute button toggling when you are not talking. This way, everyone can enjoy uninterrupted audio from the movie or other content that is being shared.
For the Sake of Your Private Life
Doing a quick mental check before streaming or rather before hitting the “Go Live” button might really save the day. For instance, it’s not a good idea to have a bank statement tab open or let the world see that you have your email client still running.
Close all the sensitive windows. Even if you intend to use the “Application” mode sharing, it is always better to be on the safe side.
Keep the Audience’s Attention
If for example, you are streaming a game tutorial or a walkthrough, you have got to remember that you are indeed performing before an audience even if these happen to be only two friends. Either way, it is a nice gesture to check the chat or at least ask for some feedback to be sure that everyone has understood.
Doing so will make both you and your audience feel good and it is also very likely that everyone will have fun.
Conclusion
The integration of the Discord screenshare feature is a majestic one; it aids bridging the gap between digital divide and human connection. Consequently, its one-dimensional voice chat is enlightened and elevated into not only a collaborative work environment but also a movie theater and gaming arena.
Basically and briefly, the first step is to find the screen share button, choosing “Applications” or “Screens” would be a matter of privacy, and the knowledge of how to fix the “black screen” error will take away your tech headaches. You can comfortably switch between the free version and Nitro if you want better quality; after all, it is meant to be intuitive.
It’s time to put your knowledge into practice now. Just open Discord, call a friend, and try using the feature. It will be hard to resist noticing how much better your online interactions have become.
If you want to get the most out of your streaming experience, do check the officialDiscord support page.
